
This post may contain affiliate links, please see our privacy policy + disclosures for details.


3 Ingredient Buttermilk Biscuits are ‘no-fail Southern perfection’ that will propel you to pro, even if this is your first time baking them!

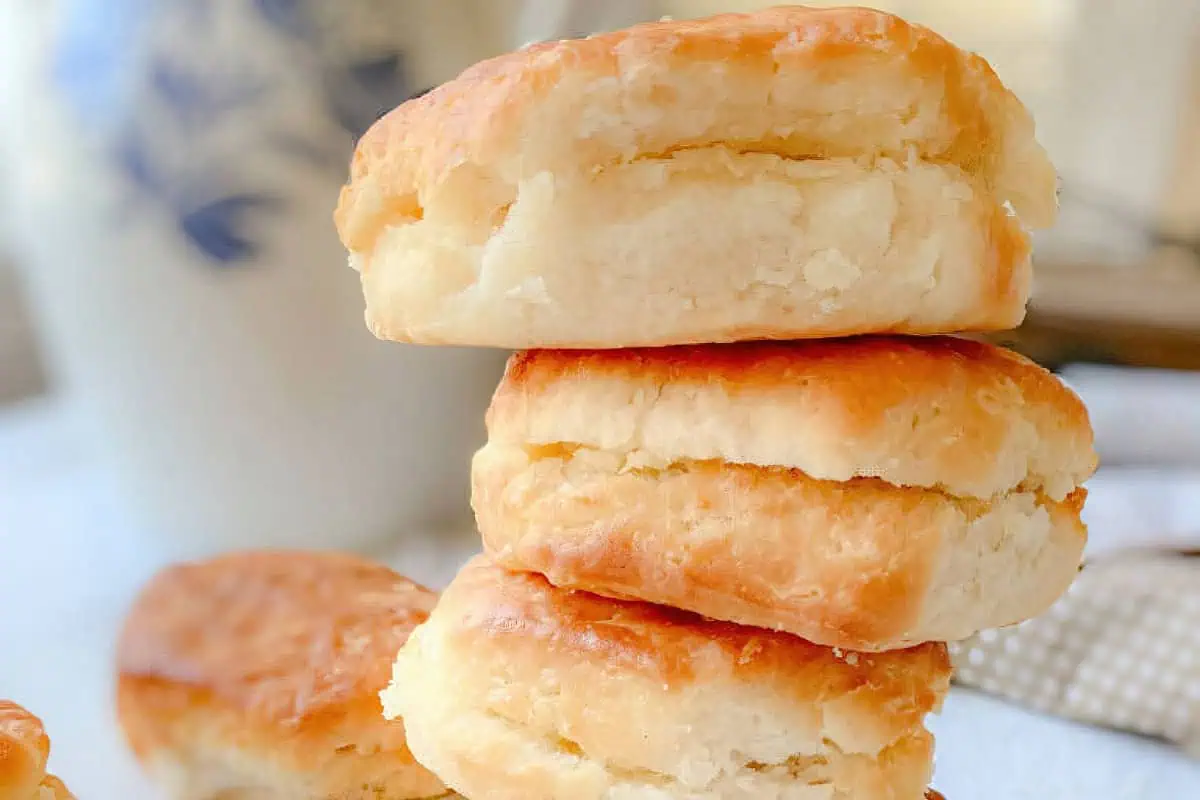
Your weekend hot breakfast doesn’t get any simpler or more delicious than a batch of 3 Ingredient Buttermilk Biscuits. With just a few minutes of prep time, you can create these grab-and-go morning handhelds in just about 30 minutes. They’re make-ahead if you choose, and enjoyed plain or gussied up with your favorite toppings.
Not married to a rounded biscuit? Leave these belly-filling crowd pleasers square by shaping your dough into a rectangle and making one even cut down the middle, and four more even cuts from side to side… BAM! Ten square biscuits!

Why You’ll Love This Recipe
· Customizable – Add different ingredients directly to the dough such as cheese, herbs, or bacon, giving these a unique flavor.
· Versatile – Biscuits can be enjoyed on their own, or used to make breakfast sandwiches, assemble sliders, or even as a base for a breakfast casserole.
· Affordable – With only 3 ingredients, homemade biscuits are a budget-friendly option to fast food or a package of English muffins, especially if you have many people to feed.
· Fresh and Tasty – Homemade buttermilk biscuits are richer in flavor than store-bought biscuits due to the use of fresh buttermilk. They are best eaten warm from the oven but keep well stored for up to two days.

Table of Contents
Ingredients That Go Into This Recipe
For THIS recipe, use self rising flour and work on a lightly floured surface of self rising flour. Other biscuit recipes calling for all-purpose flour follow an entirely different method. This method will not work the same using all purpose flour with baking powder added. It just won’t.

- Salted butter – adds the right amount of salt while pleasantly balancing the sour profile of the buttermilk.
- Self-rising flour – not the same as all-purpose flour in that Self-rising flour has baking powder and salt already added to it.
- Buttermilk – offers a slightly sour taste and a thick, creamy texture.
Substitutions and Variations
- Cracked black pepper – mix in one teaspoon of freshly cracked pepper (not pre-ground) to the flour/butter mixture just before the buttermilk. This prevents the pepper from becoming bitter.
- Cheese – shred a half cup of cheddar directly into the dough and knead to combine.
- Chipped ham – chip into tiny bits with the aid of a food processor, mix directly into the dough and knead to combine.
- Crumbled bacon
- Fresh chives, rosemary, or thyme – really, fresh herbs are hard to beat!
- Spices – think freeze-dried minced onion or cayenne pepper.
Don’t Own A Biscuit Cutter?

Grab for an upside down glass, dip the mouth of the glass into a couple of inches of flour, and presto! Instant biscuit cutter!
Alternatively, find a high-sided cookie cutter. This gets interesting because the shape of your cookie cutter equals the unique baked shape of your soon-to-be biscuits. Cookie cutters that are not terribly intricate work the best!
Shortening vs. Butter: Which is Better for Biscuits?
When it comes to making biscuits, there’s a long-standing debate over which fat is better: shortening or butter. Shortening is easier to work with, but butter has a richer flavor and melts in the mouth more easily.
In my opinion, butter is the clear winner. It also won when we tested a batch of biscuits using butter, and another baked using shortening. Seven out of seven of our tasters voted in favor of the butter biscuits.
Overall, they are moister, have a better flavor, and melt in the mouth more easily than shortening biscuits. If you’re looking for the best possible biscuit, I recommend using butter.
Do These Biscuits Re-Heat Well?
- The biscuits re-heat well, either in the oven or in the microwave, without compromising the texture.
Step By Step Instructions
When rolling out the dough, don’t press down too hard or overwork the dough. It’s scary how easy layer upon buttery layer of biscuit perfection really is to achieve.
Freeze the Butter!
The butter cannot be cold enough! Freeze your butter, then grate into a large mixing bowl, cutting it the flour. Then re-freeze for 10 to 12 minutes right in the bowl.


1: Preheat oven to 475°. Prepare a baking sheet with parchment paper and set aside. Alternatively, the biscuits may be baked in an ungreased cast iron skillet. Measure out self-rising flour into a large mixing bowl.
2: Using the largest holes on a box grater, grate frozen butter. I find it’s easiest to do this on a half sheet pan. Toss together grated butter and flour and re-freeze for 10 to 12 minutes.


3: Make a well in center of mixture. IF using honey, add it to the bowl now but wait to stir. Add buttermilk.
4: NOW stir 15 times but NO MORE. Dough will be very sticky and somewhat stringy. And as you snicker over the ’15 times,’ well I really do mean it. Unless you are partial to tough biscuits, just trust me.


5: Turn dough out onto a lightly floured surface. Lightly sprinkle flour over top of dough. Using a lightly floured rolling pin, roll dough into a 3/4-inch-thick rectangle (about 9 x 5 inches).
6: Fold dough in half so short ends meet. Repeat rolling and folding process 4 more times. This process is you creating flakey layers!


7: Roll dough to 1/2-inch thickness. Cut with a 2 1/2-inch floured round cutter, reshaping scraps and flouring as needed.
8: Place dough rounds onto the prepared baking sheet, making sure their sides just touch. Touching sides will help them rise.

9: Bake at 475° for 15 minutes or until lightly browned.
10: Brush with melted butter or with honey or both straight out of the oven, or load up your favorite toppings.
How to Serve Buttermilk Biscuits
- Jam or jelly – homemade if you have it.
- Ham gravy – so, so Southern!
- Sausage gravy – even more Southern!!
- Pimento cheese
- Honey
- Hot honey
- Boneless fried chicken
- Chipped ham – especially good if you frozen leftover holiday ham. Use your food processor to chip it.
- Bacon
- Taylor ham or pork roll – it’s a Jersey thing…
- Eggs- any way.
Get Your Breakfast On!

Go BIG or go home!

Storage Instructions
- Room temperature: Biscuits can be stored at room temperature for up to 2 days. To prevent them from drying out, wrap them tightly in plastic wrap or aluminum foil, or place them in an airtight container.
- Refrigerator: Biscuits can be stored in the refrigerator for up to 1 week. To prevent them from drying out, wrap them tightly in plastic wrap or aluminum foil, or place them in an airtight container.
- Freezer: Biscuits can be frozen for up to 3 months. To prevent them from drying out, wrap them tightly in plastic wrap or aluminum foil, and then place them in a freezer bag.
Jenny’s Recipe Pro Tips
- If you do not care about a round biscuit, cut the dough into 2 1/2-inch squares. Square biscuits are more efficient, are quicker, and there is less waste.
- Use COLD butter. Flakey layers equal fluffy biscuits, but they require some science. COLD butter will create air pockets in the dough as it melts, which will then create steam when baking.
- The buttermilk must also be WELL CHILLED!
- If you like your biscuits to have some sweetness, not real sweet, rather just a lil something, add 3 tablespoons of honey at the step you stir in the buttermilk.
Recipe FAQs
The most common size cutter is 2 3/8-inch which will yield a very pretty breakfast or sandwich biscuit large enough for eggs and gravy, slices of country ham, a scoop of pimento cheese, or plain old butter and honey.
Use cold butter to make fluffy biscuits. Warm butter will absorb into the flour and make them tough.
Pre-heat your oven all the way to 450°F BEFORE you pop your biscuits in. High heat produces maximum steam, which in combination with the ice cold butter, encourages the biscuits to rise as high as they possibly can.
More Breads and Biscuits You’ll Love


Recipe

3 Ingredient Buttermilk Biscuits
Equipment
- 2 1/2-inch round biscuit cutter
Ingredients
- ½ cup (1 stick) butter, FROZEN; re-freeze for 10 minutes after grating/mixing with flour
- 2 ½ cups self-rising flour
- 1 cup buttermilk, WELL CHILLED; fresh; leave in refrigerator until ready to use
- 3 tbsp honey, optional – lends the smallest amount of sweetness while enhancing the salty profile of the butter
Instructions
- Preheat oven to 475°.
- Prepare a baking sheet with parchment paper and set aside. Alternatively, the biscuits may be baked in an ungreased cast iron skillet.
- Measure out self-rising flour into a large mixing bowl. Using the largest holes on a box grater, grate frozen butter into the flour. Toss together and re-freeze for 10 to 12 minutes. DO NOT SKIP THIS STEP.
- Make a well in center of your flour mixture. IF using honey, add it to the bowl now but wait to stir. Add buttermilk into the well. NOW stir 15 times but NO MORE. Dough will be very sticky and somewhat stringy.
- Scrape dough out onto a lightly floured surface. Your floured surface must also be with self-rising flour. Lightly sprinkle additional flour over top of dough. Using a lightly floured rolling pin, roll dough into a 3/4-inch-thick rectangle (about 9 x 5 inches). Fold dough in half so short ends meet. Repeat rolling and folding process 4 more times. This action is what's going to yield flakey layers.
- Roll dough to 1/2-inch thickness. Cut with a 2 1/2-inch floured round cutter, reshaping scraps and flouring as needed.
- Place dough rounds onto prepared baking sheet, making sure their sides just touch. No touch = no high rise. Bake at 475°F for 15 minutes or until lightly browned.
- Brush with melted butter or with honey or both straight out of the oven, or use to assemble your favorite biscuit sandwich.
Notes
Nutrition
Nutrition information is automatically calculated, so should only be used as an approximation.


These look delicious! I like the suggestion to make the biscuits square 😊
Dianne, I love that square makes perfect sense to you! It sure does to me. NO WASTE! Let me know if you try this – they are AMAZING 🙂 Jenny
They were nice and fluffy 🙂 good 👍 to the last drop
Gloria, THANK YOU! And thank you for taking time from your day to come back by and leave this sweet compliment! x – Jenny
Biscuits looks delicious
Well, thank you, Ms. Bernice! Have a go at ’em and let me know what you think 😉 Jenny
Can I use bread flour which is all I have in my pantry?
Allygg, yes, you can – with a couple of caveats. First, knock the amount of flour down to 2 cups. You must sift the bread flour with 3 teaspoons baking powder, 1/2 teaspoon salt, and 1/4 teaspoon baking soda. This is because the properties are different than those of self-rising. Because the bread flour is lighter, you must use a lighter hand when laminating (folding) and rolling out the dough. Overworking it will result in a tough biscuit. Even if your butter appears NOT to be completely incorporated, move forward and stamp out your biscuits. Please drop back by and let me know how these turn out for you. MANY bakers swear by the use of bread flour. If it works wonderfully for you, with your permission of course, I will add an addendum to the recipe card per your steps. Jenny
I should also have mentioned *** dropping back to 2 cups of bread flour means that you should still use additional bread flour when laminating and rolling to avoid the dough sticking. Essentially, at least some of the ‘less 1/2 cup’ will be added back during lamination.